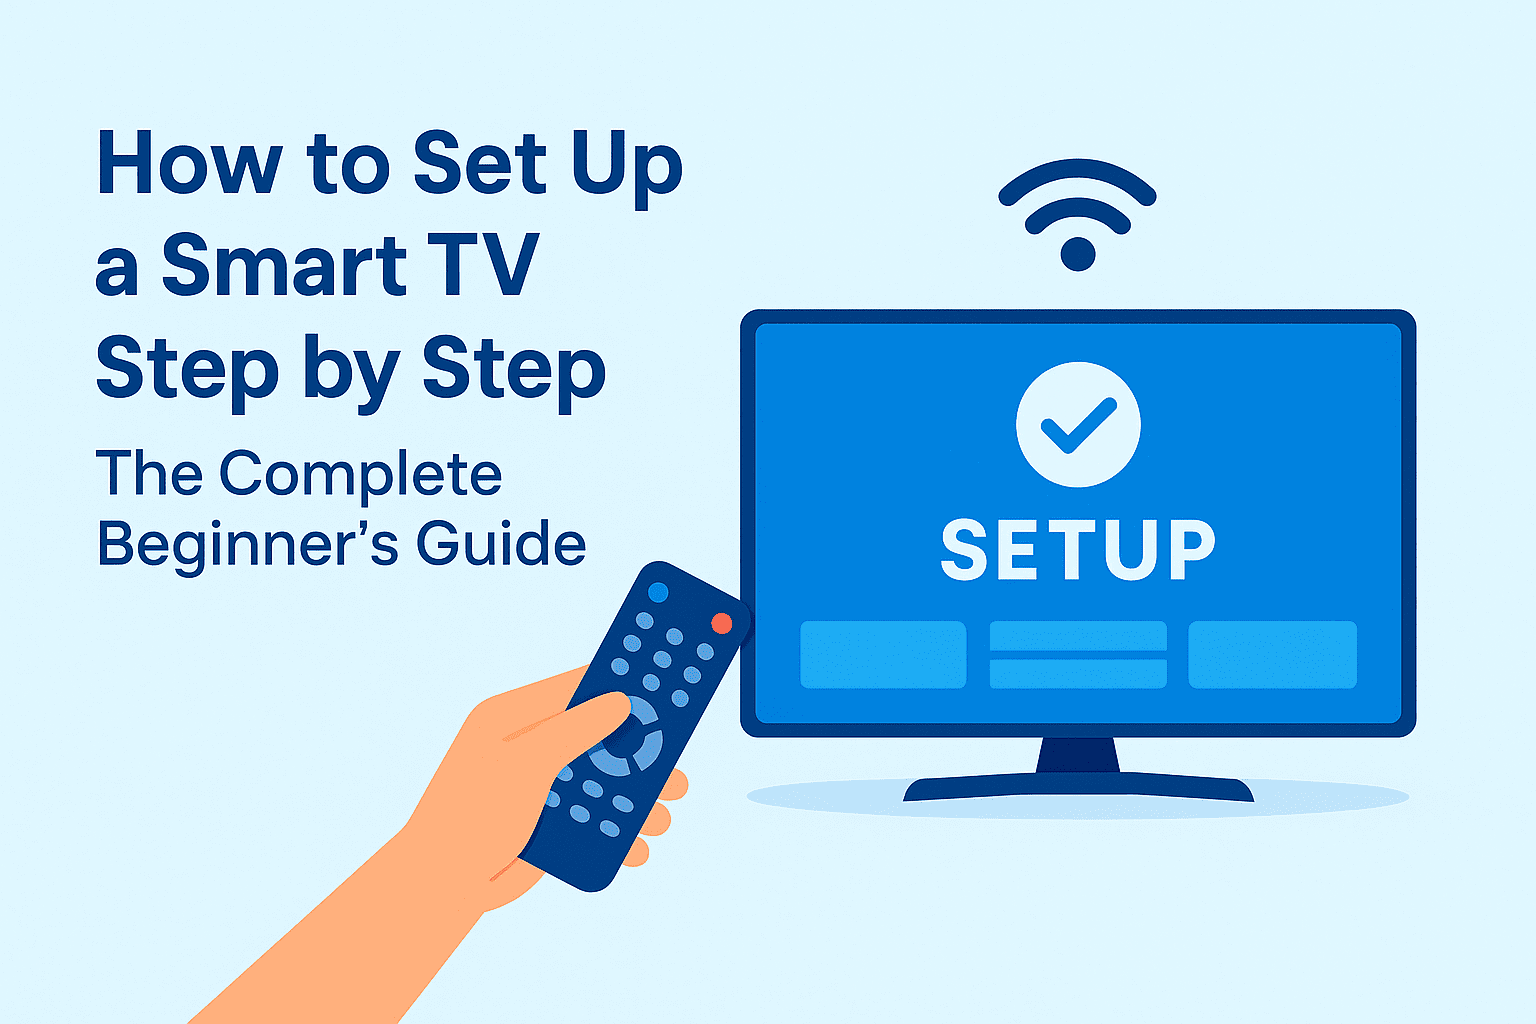
How to Set Up a Smart TV Step by Step: The Complete Beginner’s Guide
Buying a new Smart TV can feel exciting, but setting it up for the first time can also seem a little confusing. Each brand has its own menus, remote controls, and settings, yet the essential process is similar. This guide walks you through the entire setup in plain language so you can get everything working perfectly the first time — from unboxing to picture calibration and secure Wi-Fi connection.
Understanding What Makes a TV Smart
A Smart TV is simply a television that connects to the internet and allows you to install or access apps directly, without needing an external device. Think of it as a combination of a screen and a small computer. The system inside the TV handles streaming, updates, and network functions. Some use Android TV or Google TV; others rely on proprietary systems like webOS or Tizen. Knowing which system your TV runs helps you navigate its menus more confidently later.
For a detailed explanation of how Smart TV systems work, you can read this overview from Consumer Reports, one of the most trusted technology sources.
The “smart” part also means your television can receive updates, pair with smartphones, and even integrate with voice assistants. Before you begin, it helps to note the model number and check the manufacturer’s website for documentation or firmware updates.
Step 1: Prepare the Space and Unbox Carefully
Setting up begins before turning anything on. Make sure your TV stand or wall mount is stable and located near a power outlet and your internet router. Clear enough space for the screen and cables, and if possible, have someone help you lift the TV — modern panels are light but fragile.
When unboxing, remove the accessories and check you have the remote, power cable, stand screws, and user guide. Avoid touching the screen directly. Assemble the stand on a flat surface and attach it gently, following the instructions in the box. If you plan to mount it on the wall, double-check the bracket size (VESA mount) and screw length.
Step 2: Power Up and Initial Setup
Once your TV is secure, plug it into the power outlet and turn it on using the remote or the power button. You’ll usually be greeted by a welcome screen that asks you to choose a language and region. Follow the on-screen prompts.
Most Smart TVs now guide you through an automatic setup wizard. This may include:
- Selecting language and time zone
- Accepting the privacy policy and terms
- Choosing whether to share anonymous usage data (you can safely decline)
- Connecting to Wi-Fi or Ethernet
During this process, your TV might look for software updates. Let it complete the update before continuing — this ensures you have the latest firmware, which improves performance and adds security patches.
Step 3: Connect to the Internet Securely
A stable internet connection is essential for Smart TVs. If your TV is close to your router, a wired Ethernet cable gives the best stability and speed. For most users, Wi-Fi is convenient enough.
When connecting via Wi-Fi, pick your home network from the list and enter your password carefully. If possible, connect to a 5 GHz network rather than 2.4 GHz for faster performance. After connection, test by opening a built-in browser or app store to confirm access.
To enhance security, it’s wise to keep your TV on a separate guest network if your router allows it. This prevents other devices from automatically accessing your TV.
Step 4: Sign In or Create Accounts
Most Smart TVs ask you to log into a manufacturer account. For example, Samsung uses a Samsung account, LG uses LG Account, and Google TV requires a Google account. These accounts enable app downloads, cloud backups, and synchronization with other devices.
If you prefer privacy, you can often skip sign-in and still use the basic functions. However, without an account, app installation or voice control might be limited. Always use a strong, unique password for these accounts and avoid reusing the same password elsewhere.
Step 5: Update the Firmware and Apps
After initial setup, check for updates again manually through the settings menu. Updates improve picture processing, security, and overall reliability. Enable automatic updates if the option exists; it ensures the system stays up to date without needing manual checks.
Next, visit the built-in app store to install essential apps you actually plan to use. Avoid installing too many; extra apps can slow performance. Update all pre-installed apps before using them.
Step 6: Configure Display and Sound Settings
Every living room has different lighting and acoustics, so take a few minutes to adjust your TV’s image and sound. Most TVs come with preset modes such as Standard, Cinema, or Dynamic. Start with the Standard or Cinema mode for accurate colors.
Adjust the brightness so that dark scenes remain visible but not washed out. Fine-tune contrast and sharpness carefully — too much contrast can crush detail, and excessive sharpness creates artificial edges. If your TV includes an automatic picture mode that adapts to room light, test it and decide if you like the effect.
For sound, switch between available audio modes like Standard, Movie, or Clear Voice. If you use external speakers or a soundbar, connect them via HDMI ARC or optical cable, then select the correct output in the audio settings.
Step 7: Organize Your Apps and Inputs
A neat home screen saves time later. Reorder apps so that the ones you use most appear first. You can usually press and hold a remote button to move or delete an app. Hide or uninstall pre-loaded apps you never plan to open.
Next, label your HDMI inputs clearly (for example: “Game Console,” “Blu-ray,” “Laptop”). This helps the TV display friendly names when switching sources. Many modern remotes can automatically detect devices and assign icons.
Step 8: Enable Essential Features Only
Smart TVs often come with advanced features like voice assistants, motion sensors, or camera access. Enable only what you truly need. If you prefer privacy, you can disable microphone access or voice recognition in the settings. This step reassures users who want to keep their data secure and reduces background network activity.
You can also review advertisement or recommendation settings. Most brands allow you to turn off personalized ads or data collection for marketing purposes.
Step 9: Test the Network Speed and Streaming Quality
Even without naming specific platforms, you can check your internet performance directly through the TV’s network settings. Some models include a “Network Status” or “Speed Test” tool that estimates download speed. For smooth high-definition video, aim for at least 10 Mbps; for 4K content, 25 Mbps or higher is ideal.
If you notice frequent buffering, position your router closer or use a wired connection. Updating your router’s firmware and avoiding heavy downloads on other devices during streaming also help.
Step 10: Add a Few Personal Touches
You can personalize your Smart TV in small ways: change the home screen wallpaper, rename the device, or set sleep timers. If you own a smartphone, download the manufacturer’s remote control app — it often provides a keyboard for easier text entry and touchpad navigation.
Many Smart TVs also let you pair Bluetooth headphones or controllers. Pair them through the Bluetooth menu and test for delay. Remember to disconnect devices you no longer use to conserve energy and security.
Step 11: Explore Accessibility Options
Accessibility features make Smart TVs more user-friendly for everyone. Features such as voice narration, closed captions, and high-contrast modes can be adjusted easily. You can enable audio descriptions for visually impaired users or increase subtitle size for readability.
These options not only improve inclusivity but also create a more personalized experience for families with different needs.
Step 12: Maintain Your Smart TV for Long-Term Performance
Setting up your Smart TV correctly is just the beginning. Keeping it running smoothly requires small habits:
- Restart the TV periodically to clear cache memory.
- Delete unused apps and temporary files.
- Keep the system updated every few months.
- Avoid leaving the TV in “demo mode,” which is meant for showrooms.
You should also clean the screen gently with a microfiber cloth and avoid chemical sprays. If you experience glitches, unplug the TV for a few minutes; this often resets internal processes.
Troubleshooting Common Issues
Even the best-configured TV might occasionally freeze or lose connection. Most issues have simple fixes. If the Wi-Fi disconnects often, check that your router firmware is current and your signal isn’t blocked by walls. For sound or picture issues, revert to default settings before calling support. Manufacturers’ websites frequently include software patches or self-diagnostic tools you can download.
Keeping Your Setup Secure
Because Smart TVs connect to the internet, treat them like any other connected device. Change default passwords if your model uses them, and review privacy permissions occasionally. Avoid connecting to public Wi-Fi networks. If your TV allows remote control through a phone app, ensure both devices are on your secure home network.
Security experts recommend turning off “remote diagnostics” unless you’re actively receiving help from customer support. This small measure limits external access and maintains privacy.
Why Good Setup Practices Matter
A proper setup doesn’t just improve picture quality — it extends your TV’s life and protects your data. Many people skip calibration or network checks and later experience lag, overheating, or intrusive ads. Spending half an hour on correct configuration saves countless frustrations down the line.
Good setup also improves energy efficiency. By disabling unnecessary background services and lowering backlight intensity, you reduce electricity use without losing performance. With rising energy costs, this small optimization makes a noticeable difference.
The Future of Smart TVs
Smart TVs are evolving rapidly. Features such as automatic calibration, voice control, and multi-device integration will soon be standard. Some models already integrate with home assistants to control lighting or temperature. Understanding your current TV’s system prepares you for these innovations, because most principles — connection, security, and calibration — will remain the same.
Manufacturers are also improving accessibility and privacy controls. Expect clearer permission management and easier data deletion options in upcoming firmware updates. Staying familiar with these settings ensures you maintain both performance and privacy as technology evolves.
Final Thoughts
Setting up a Smart TV doesn’t require technical expertise — only patience and attention to detail. Once connected, updated, and calibrated, your television becomes more than just a screen; it’s the centerpiece of your digital home. Take a few moments to explore menus, learn shortcuts on your remote, and adjust the features that matter most to you. The result is a system tuned to your preferences, delivering clear images, balanced sound, and a safe connection to your digital world.
When finished, you’ll know that your setup is efficient, secure, and ready for years of use. It’s not about installing endless apps or advanced tweaks; it’s about creating a comfortable, reliable experience that fits your lifestyle. With this foundation, any new device or update you add later will integrate smoothly, and your Smart TV will continue to perform at its best.
Leave a Reply